Experience the rich tradition of authentic Greek coffee, a cherished ritual that takes just 6 minutes to master.
This velvety Ellinikos Kafes delivers an intense aroma and luxuriously smooth texture that’s been perfected over generations.
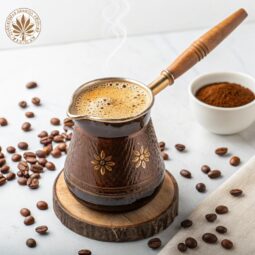
Far more than a simple brew, this boiled coffee method creates a uniquely layered drink topped with a signature creamy foam called “kaimaki.”
Whether you’re seeking a morning boost or an afternoon indulgence, this vegan-friendly recipe brings Mediterranean coffee culture right to your kitchen.
Ingredients Needed for Greek Coffee

- Greek Coffee: Fine-ground coffee specifically made for Greek coffee brewing
- Sugar: Add to taste – traditional options include plain (no sugar), medium-sweet, or sweet
- Water: Fresh, cold water (60-70ml per serving)
Required Equipment
- Briki: Traditional Greek coffee pot, choose size based on servings needed
- Greek Coffee Cup: Small, traditional cup for authentic serving
Step-by-Step Instructions
- Measure Water: Fill one Greek coffee cup with fresh water and transfer to briki
- Add Ingredients: Spoon in your desired amount of coffee and sugar, stirring well to combine
- Heat Preparation: Place briki over medium heat, giving one or two gentle stirs at the start
- Watch the Foam: Keep a close eye as the coffee begins to heat – foam formation is crucial
- Foam Management: When foam starts rising, lift briki briefly, allow foam to settle, then return to heat
- Final Pour: Remove from heat just before boiling and pour carefully into your cup
- Resting Period: Allow coffee to rest 4-5 minutes for proper temperature and settling
Making the Perfect Foam
The foam (kaimaki) is the heart of Greek coffee! Getting it right takes a little practice, but it’s totally worth it.
The trick is to watch your coffee like a hawk as it heats up – you’ll see tiny bubbles forming around the edges first.
Keep the heat medium-low and be ready to lift your briki right when the foam starts to rise. This gentle up-and-down motion helps create that signature creamy foam that makes Greek coffee so special.
Serving Suggestions
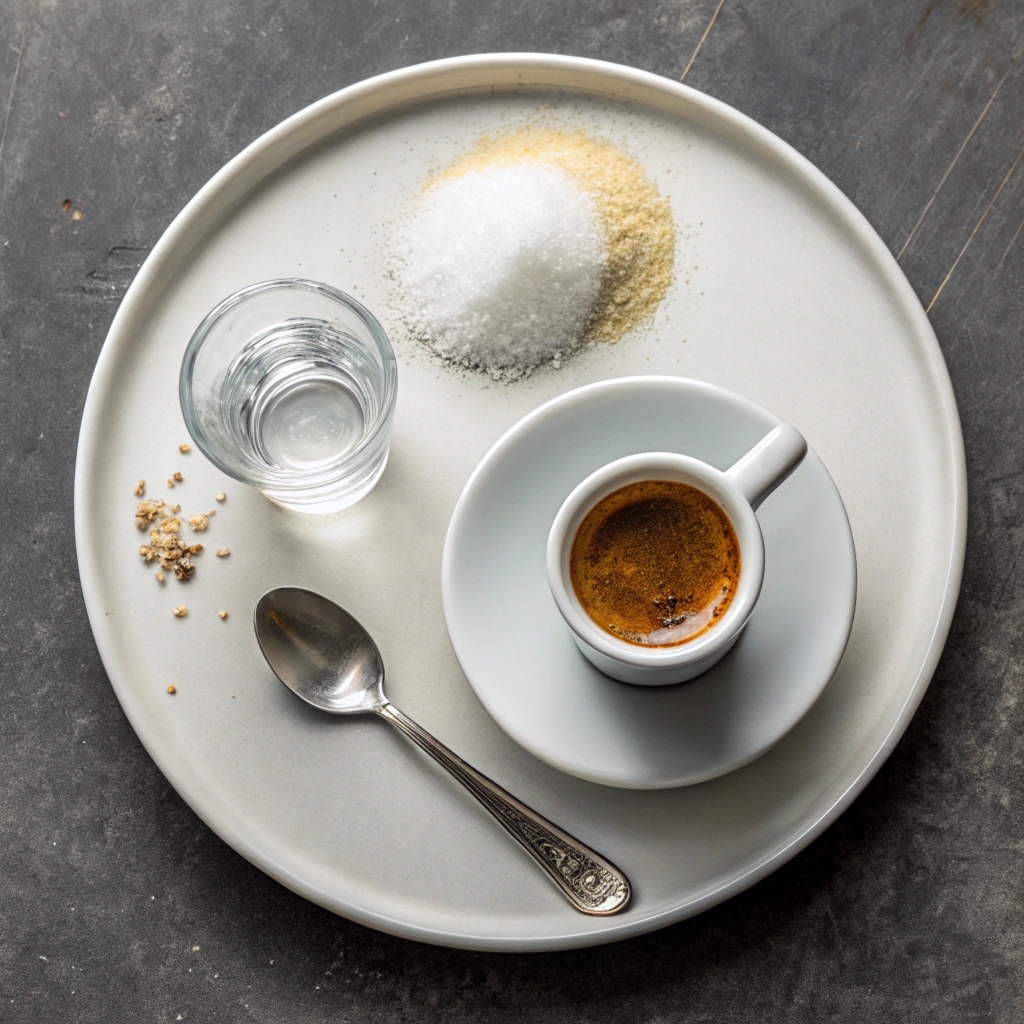
Greek coffee is best enjoyed slowly, paired with good company and maybe a sweet treat! Serve it in a small traditional cup alongside a glass of cold water – that’s how they do it in Greek cafes.
Some tasty pairings include Greek cookies (koulourakia), baklava, or any small pastry. My favorite way is to sip it during a relaxed afternoon break, letting each sip be a mini moment of calm.
Sweet or Bitter? Your Choice!
You can make your Greek coffee just the way you like it! For no sugar (sketos), just skip it completely. Want it medium-sweet (metrios)?
Add 1 teaspoon of sugar. Love it sweet (glykos)? Go for 2 teaspoons. Some folks even like it super sweet (vary glykos) with 3 teaspoons. Try different amounts until you find your perfect match!
Quick Tips for Success
Don’t stir after the coffee starts heating – this helps create better foam. Always use cold water to start. Let those grounds settle at the bottom of your cup before drinking.
And here’s a fun tip: if you’re making multiple coffees, prep each cup separately instead of making a big batch. This way, each cup gets that perfect foam on top!

Greek coffee (Ellinikos Kafes)
Equipment
- briki
- Greek coffee cup
Ingredients
Main Ingredients
- Greek coffee
- sugar to taste
- 2 oz water 60-70 ml
Instructions
- Fill a full coffee cup with water (approx. capacity 2 fluid ounces/ 60-70 ml) and pour into the briki.
- If you plan to make more than one coffee make sure to use the right size of briki. Your briki should be big enough, to allow the coffee to bubble and foam.
- Add the preferred amount of coffee and the sugar and stir well.
- Place over medium heat and stir again once or twice. Let the coffee heat up, without stirring. Be careful not to leave the kitchen.
- Once you notice that the coffee starts to foam, lift the briki from the heat until the foam settles. Then put it again on the heat. Let the coffee start to foam and then remove from the heat. Be careful not to let it boil.
- Pour the Greek coffee into the cup and let it rest for 4-5 minutes, so that the temperature drops a bit and the granules set at the bottom.
