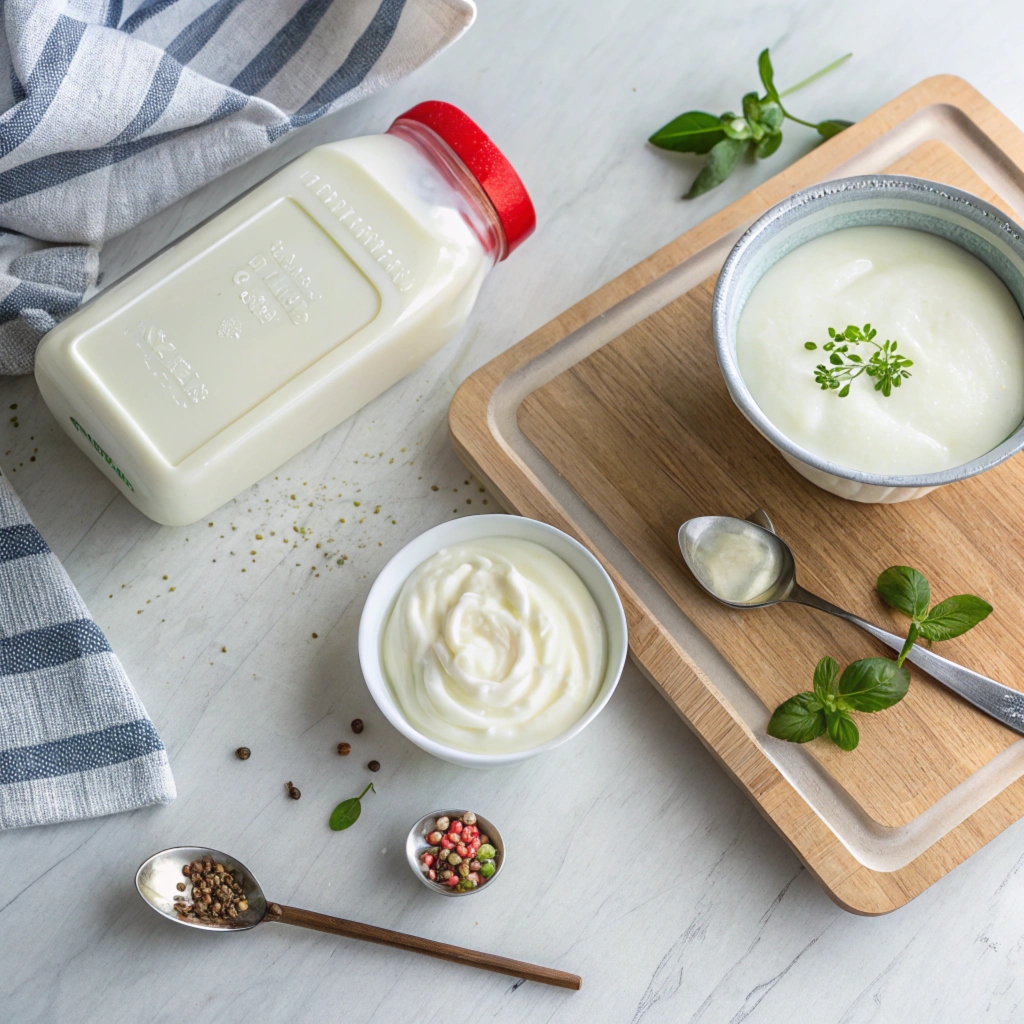
This foolproof homemade Greek yogurt recipe delivers thick, creamy results that rival any store-bought version – at a fraction of the cost.
The 10-hour process requires minimal hands-on time and transforms regular milk into protein-rich, tangy Greek yogurt through a simple straining method.
Perfect for breakfast parfaits, smoothies, or Mediterranean dishes, this DIY approach lets you control exactly what goes into your yogurt while saving money.
The overnight fermentation does most of the work for you, resulting in about 2-3 cups of luxuriously smooth Greek yogurt.
Fresh Greek Yogurt Ingredients

- Whole Milk: 1200ml (5 cups) – Use fresh, high-quality milk for best results
- Live Natural Yogurt: 2 tablespoons – Ensures proper fermentation and acts as a starter culture
Step-by-Step Instructions
- Oven Preparation: Set oven to 40°C (104°F). Prepare casserole with clean dish towels to hold glass mixing bowl.
- Milk Heating: Heat milk in saucepan to 82-88°C (180-190°F), stirring constantly to prevent scorching.
- Temperature Maintenance: Keep heating milk for 5 minutes within the temperature range, stirring continuously.
- Cooling Phase: Transfer heated milk to glass bowl, let cool to 41-45°C (105-110°F).
- Starter Addition: Gently stir in 2 tablespoons of natural yogurt.
- Initial Fermentation: Place bowl in prepared casserole, leave in oven for 8 hours until slightly looser than regular yogurt.
- First Chilling: Cover with kitchen wrap, refrigerate overnight.
- Straining Setup: Secure cheesecloth over clean bowl using rubber band, creating a slight dip in the middle.
- Final Straining: Strain in refrigerator for minimum 2 hours until desired thickness is achieved.
- Storage: Transfer to airtight container, store in refrigerator and enjoy within 7 days.
Temperature Control Tips
Getting your temperatures just right makes all the difference in homemade Greek yogurt! Keep a thermometer handy and watch those numbers carefully. Think of it like this – your milk needs to be hot enough to wake up the good bacteria (but not so hot it hurts them), and then cool enough to give them a cozy home. If you don’t have a thermometer, here’s a neat trick: the milk should be hot to touch but not burning (like a warm bath) before adding your starter yogurt.
Storage Guide
Your fresh Greek yogurt will stay good for up to 7 days in the fridge. Keep it in an airtight container to protect its creamy texture and stop it from picking up other flavors. A glass jar with a tight lid works great! The yogurt might separate a bit – that’s totally normal. Just give it a gentle stir before eating.
Tasty Mix-Ins
Plain Greek yogurt is amazing on its own, but it’s also a blank canvas for yummy additions! Try:
– A drizzle of honey and crushed nuts
– Fresh berries and a splash of vanilla
– A spoonful of jam or fruit preserves
– Granola and sliced bananas
– Fresh herbs and a pinch of salt for a savory dip
Money-Saving Tips
Making Greek yogurt at home can save you lots of money! Save 2 tablespoons from each batch to start your next one – no need to buy new starter yogurt every time. Don’t toss the strained whey liquid either – use it in smoothies, bread dough, or pancake batter for extra protein and zero waste. When you spot milk on sale, that’s the perfect time to make a batch!
Troubleshooting Help
If your yogurt turns out runny, it might need more straining time or your milk temperature might have been off. Too tart? You probably let it culture too long. Not thick enough? Try straining it longer. Remember – every batch is a chance to learn, and even if it’s not perfect, it’s still tasty and good for you!

Greek Yogurt (Homemade)
Equipment
- Large saucepan
- Glass mixing bowl
- Casserole or dutch oven
- Thermometer
- Cheesecloth
- Rubber band
Ingredients
For the Yogurt
- 1200 ml whole milk (5 cups)
- 2 tbsp live natural yogurt (plain yogurt)
Instructions
- Pre-heat the oven to 40 degrees celsius / 104 fahrenheit. Line a large casserole or dutch oven large enough to hold a glass mixing bowl that will hold all the milk with clean dish towels.
- Heat the milk over a medium high heat in a large saucepan, stirring almost constantly with a heatproof spatula to make sure the milk does not burn on the bottom of the pan. Bring the milk to somewhere between 82-88 degrees Celsius / 180-190 Fahrenheit, measured with a sugar thermometer.
- Heat the milk for 5 minutes, stirring constantly, and adjusting the heat if necessary to keep it within the correct temperature range.
- Pour the milk into your glass bowl and allow to cool to between 41-45 degrees celsius / 105-110 fahrenheit.
- Add your 2 tablespoons of “seed” yoghurt to the lukewarm milk.
- Transfer the bowl to the dish towel lined casserole and transfer to the pre-heated oven. Leave for at least 8 hours until the yogurt has reached a consistency slightly looser than natural yogurt. Cover with kitchen wrap and chill in the fridge overnight.
- Remove the yogurt from the fridge, it should have thickened slightly and it should taste rich, creamy and pleasantly tangy.
- Use a large rubber band to secure a piece of cheesecloth over the top of another clean glass bowl or wide mouthed jug. Allow just enough give in the cheesecloth to allow you to scrape the yogurt into the indentation.
- Return to the fridge and allow to strain for at least 2 hours to reach the consistency of Greek yogurt – the exact timings will rely on the amount of whey in your yogurt and personal preference.
- Transfer to a clean air tight tub or container and consume within 7 days.
