These irresistible Greek fried cheese balls (Tirokroketes) deliver pure comfort in every golden, crispy bite. Ready in just 20 minutes, these melty morsels showcase a perfectly crunchy exterior that gives way to an outrageously gooey center.
A beloved Mediterranean appetizer that’s both vegetarian-friendly and guaranteed to disappear from your party platter within minutes.
Whether you’re hosting guests or craving an elevated snack, these authentic tirokroketes bring restaurant-quality indulgence right to your kitchen.
Ingredients Section

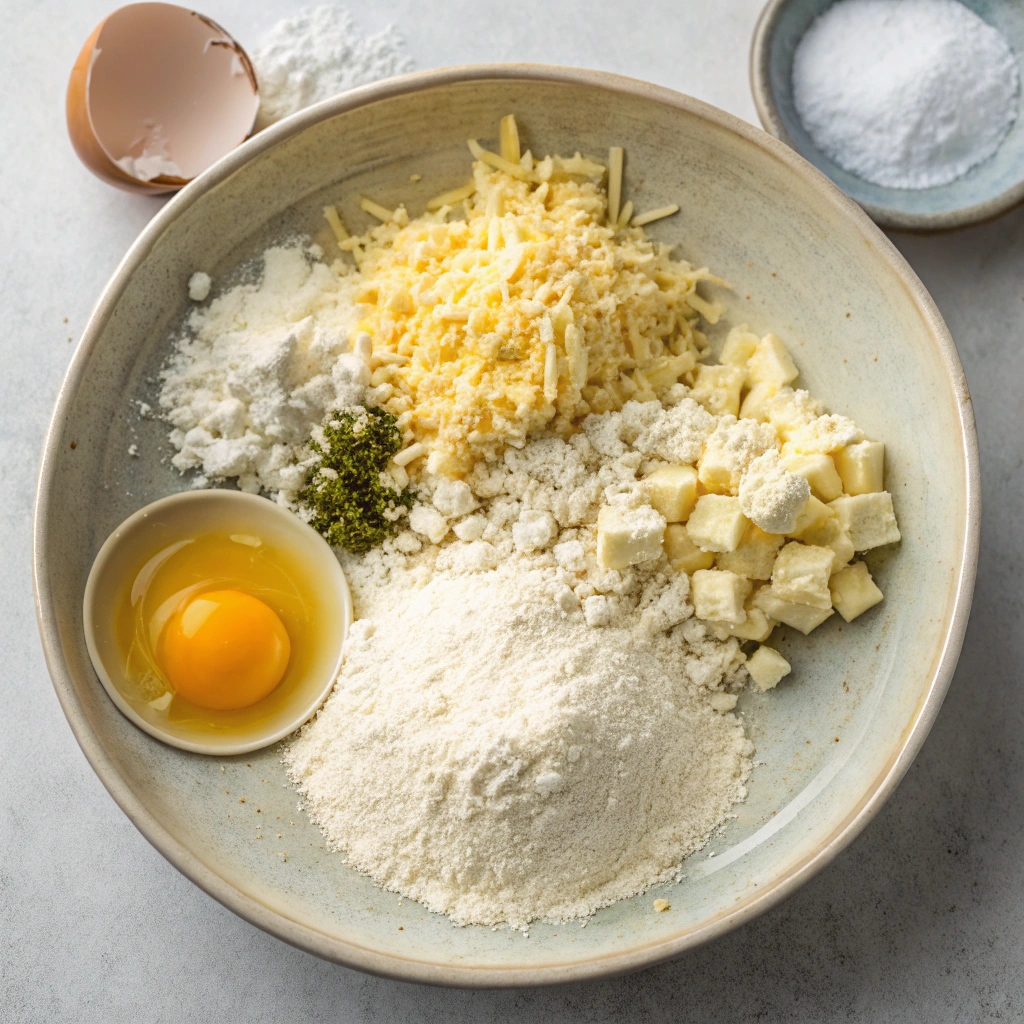
- Cheese Blend: 100g crumbled feta, 130g grated gouda, and 100g mature cheddar (creates perfect melty texture)
- Binding Agents: 1 egg plus 1 egg white, 40g self-raising flour (ensures perfect structure)
- Coating: All-purpose flour for dredging (creates crispy exterior)
- Extras: Splash of milk, freshly ground pepper (enhances flavor)
- Frying: Vegetable oil (enough for deep frying)
Instructions Section
- Mix & Season: Combine all cheeses, eggs, self-raising flour, milk, and pepper in a medium bowl until well blended
- Chill: Cover bowl with plastic wrap and refrigerate for 45 minutes to firm up the mixture
- Shape: Form mixture into 14-15 small balls, then coat each in all-purpose flour, shaking off excess
- Fry to Perfection: Heat oil until very hot, fry in batches until golden brown (avoid overcrowding for maximum crispiness)
- Serve: Transfer to paper towels to drain excess oil, serve immediately with a fresh lemon squeeze for best taste
Cooking Tips for Perfect Cheese Balls
Getting your cheese balls super crispy and melty is all about temperature! Keep your oil nice and hot – if you drop a tiny bit of flour in and it sizzles right away, you’re good to go.
Work in small batches of 4-5 balls at a time so they have plenty of space to swim around. This keeps the oil hot and gives you that amazing golden crust with gooey cheese inside.
Make It Your Own
Love different cheeses? You can switch things up! Try mozzarella instead of gouda for extra stretch, or add some parmesan for a sharper kick.
No self-raising flour? Regular flour works too – just add a tiny pinch of baking powder. If you want a bit of zip, mix in some finely chopped herbs like parsley or dill, or add a dash of paprika to the flour coating.
Serving Ideas
These cheese balls are amazing right out of the pan with just a squeeze of lemon, but let’s make them even better!
Try them with a cool tzatziki dip, or spicy marinara sauce for dipping. They’re perfect as party snacks, or make them bigger for a fun appetizer.
Put them on a platter with some fresh herbs and lemon wedges – they’ll disappear in minutes!
Storage and Reheating
The best cheese balls are fresh and hot! But if you have leftovers, pop them in the fridge in an airtight container – they’ll keep for 2-3 days.
To bring back their crunch, warm them in the oven at 350°F (175°C) for about 5-7 minutes. The microwave works too, but they won’t be as crispy.
Want to plan ahead? You can roll and coat the balls, then freeze them uncooked for up to a month. Just thaw them in the fridge before frying!

Extra Melty Fried Cheese Ball (Tirokroketes)
Equipment
- Medium bowl
- Non-stick pan
- Kitchen paper
Ingredients
- 100 g feta cheese crumbled (3.5 ounces)
- 130 g gouda grated (4.5 ounces)
- 100 g Mature Cheddar cheese, Regato or Graviera (3.5 ounces)
- 1 egg and 1 egg white
- 40 g self raising flour (1.5 ounces)
- milk a splash
- freshly ground pepper to taste
- all-purpose flour for dredging as needed
- vegetable oil for frying as needed
Instructions
- To prepare these delicious fried cheese ball recipe, add all the ingredients into a medium bowl, season well with freshly ground pepper and blend to combine.
- Cover the bowl with some plastic wrap and place in the fridge for 45 minutes. This will help the mixture for the cheese balls to firm up a bit and make it easier to roll into balls.
- Form the mixture into little cheese balls (this mixture is enough for 14-15 cheese balls) and dredge in some flour shaking off any excess.
- Fry the cheese balls in a non-sticking pan with plenty of oil, until nicely colored. Place the fried cheese balls on some kitchen paper to absorb the extra oil. (Tips: Heat the oil until very hot and fry them in batches. If the surface of the pan is overcrowded then the temperature of the oil will decrease and your cheese balls will not be crispy any more!)
- Serve the cheese balls while still hot with a squeeze of a lemon. Enjoy!
